Before heading to the mountains in the winter, it’s crucial to have at least a rudimentary understanding of avalanche danger, risk assessment, and safety tools. Until you feel comfortable with your awareness and skills, it’s not a bad idea to stick to lowland or no-risk hikes, and even after you have taken courses and developed an understanding of what to look for and how to potentially survive an avalanche, you’ll need to ask yourself before each adventure if it’s really worth the gamble.
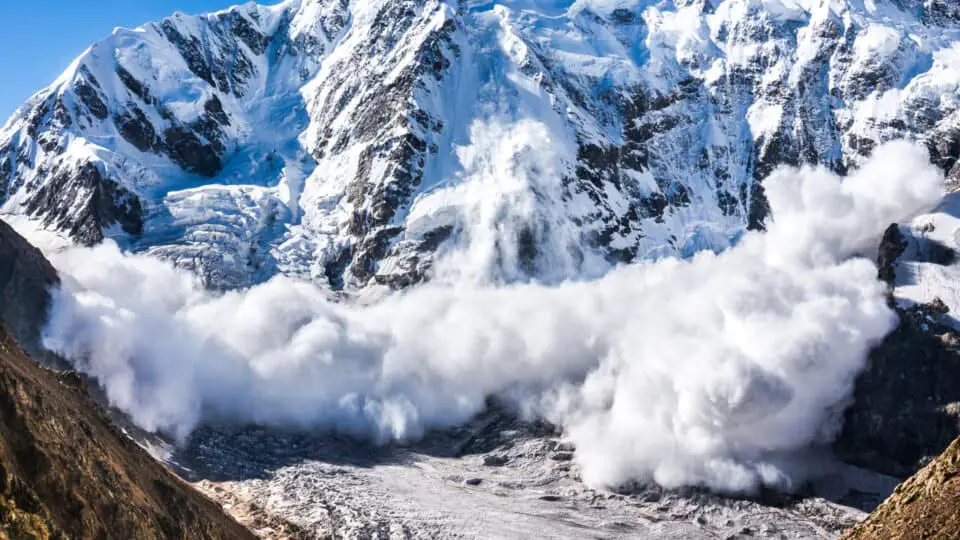
Sometimes skiers and snowboarders can outrun an avalanche. Sometimes they are the ones who trigger it, and ride it down. There are tons of extreme adventure films and videos that feature people interacting with avalanches in ways that don’t apply to hikers, and you need to know that standing there on foot with a heavy pack when one comes at you is much different than being on skis already moving 40 mph. So before we dive into the characteristics of dangerous conditions, gear to buy, and resources to help you make good decisions, keep in mind that the best action is to not go out at all, or to go low or flat, where there is no risk.
Make Good Choices
Your number one best tool for avalanche safety is your ability to make good decisions.
Shovels, beacons, probes: those are all terrific pieces of gear if used correctly in just the right situations. But stories abound of beacons malfunctioning, shovels being ripped off backpacks in a slide, probes not being able to find people buried. A few years ago two very experienced, outdoorsy, teenage boys went snowshoeing at Snow Lake, and seeing that the avy danger was moderate, they brought all three of those items with them, plus emergency satellite communication devices. All of that was found near their bodies when they were recovered the next day.
It’s okay to decide to not go out.
It’s okay to decide that you aren’t willing to risk your life for a hike.
It’s okay to admit you aren’t sure what “moderate risk” means on the NWAC forecast, and decide to go somewhere coastal, or in the non-snowy lowlands, or on a road snowshoe that doesn’t cross any chutes.
Your best tool is your ability to decide.
And should you decide to go out, it’s okay to turn back. There is no shame in beelining it back to the car when you hear the eerie whumpf underfoot, or see cracks in slabs on the slope you’re ascending. I always think about Doug Walker’s unnecessary death on Granite Mountain, when his partners turned around and went back down, and he went on ahead, and he was caught in a slide and killed by blunt trauma in the trees.
Avalanche Safety 101
- Understand where and why avalanches occur: Learning this information will help you avoid avalanches when you recreate in snow-covered mountains.
- Check the avalanche forecast: Various avalanche centers worldwide provide daily forecasts with detailed information about conditions. NWAC is the favorite here in Washington, but all areas with significant snowfall will have their own.
- Carry rescue gear and know how to use it: It’s best to avoid avalanches in the first place, but if things do go wrong, always have the proper rescue gear and know how to use it.
- Learn to recognize five red flags: Once outside, use your observational skills to recognize five key clues warning you about unstable snowpack (recent avalanches, shooting cracks, whumpfing, major changes in weather, persistent slab avalanches in the area).
- Take a class: This is key. Get formal training. Get the education that matches your goals and comfort level.
Take An AIARE Class
The very best thing you can do for your safety is take an AIARE class. The intro class (AIARE 1) is a three day course in which students can expect to develop a good foundation in how to prepare for and execute a backcountry trip, to understand basic decision making while in the field, and to learn rescue techniques required to find and dig up a buried person (if an avalanche occurs and someone in the party is caught).
The AIARE 1 course will teach you to:
- Develop a plan for travel in avalanche terrain
- Demonstrate the ability to identify avalanche terrain
- Effectively use The AIARE Risk Management Framework to make terrain choices in a group setting
- Demonstrate effective companion rescue
If you can’t sign up for an AIARE class, consider taking REI’s virtual avalanche safety class.
Staying Alive
Should you get caught in an avalanche, the sad truth is you may not survive. They often happen suddenly and you may not have time for a planful reaction, and if you panic the likelihood of helping yourself decreases. Here are some things to try should you find yourself swept away:
- Grab onto anything stable
- Ditch your gear
- Try to swim to stay on the surface
- Roll onto your back and descend feet first
- If buried, try to make an air pocket around your face; people have been known to live for up to 18 minutes if they have an air pocket
- Wear a helmet to help reduce head injuries and create air pockets
- Wear an avalanche beacon to help rescuers locate you
- Use an avalanche airbag that may help you from being completely buried
- Carry a collapsible avalanche probe and a small shovel to help rescue others
Avalanche Safety Gear
- Transceiver: Identifies your location
- Shovel: To dig out survivors
- Probe: To find people buried
- Inflatable backpack: Helps float victims to the surface of avalanche debris
- AvaLung: Works to extract air directly out of the snowpack
- Recco reflectors: Help rescuers pinpoint your location
But again, your best piece of gear is your ability to make good choices. When in doubt, sit it out!
Sources
American Institute for Avalanche Research and Education: Website
Northwest Avalanche Center NWAC: Website
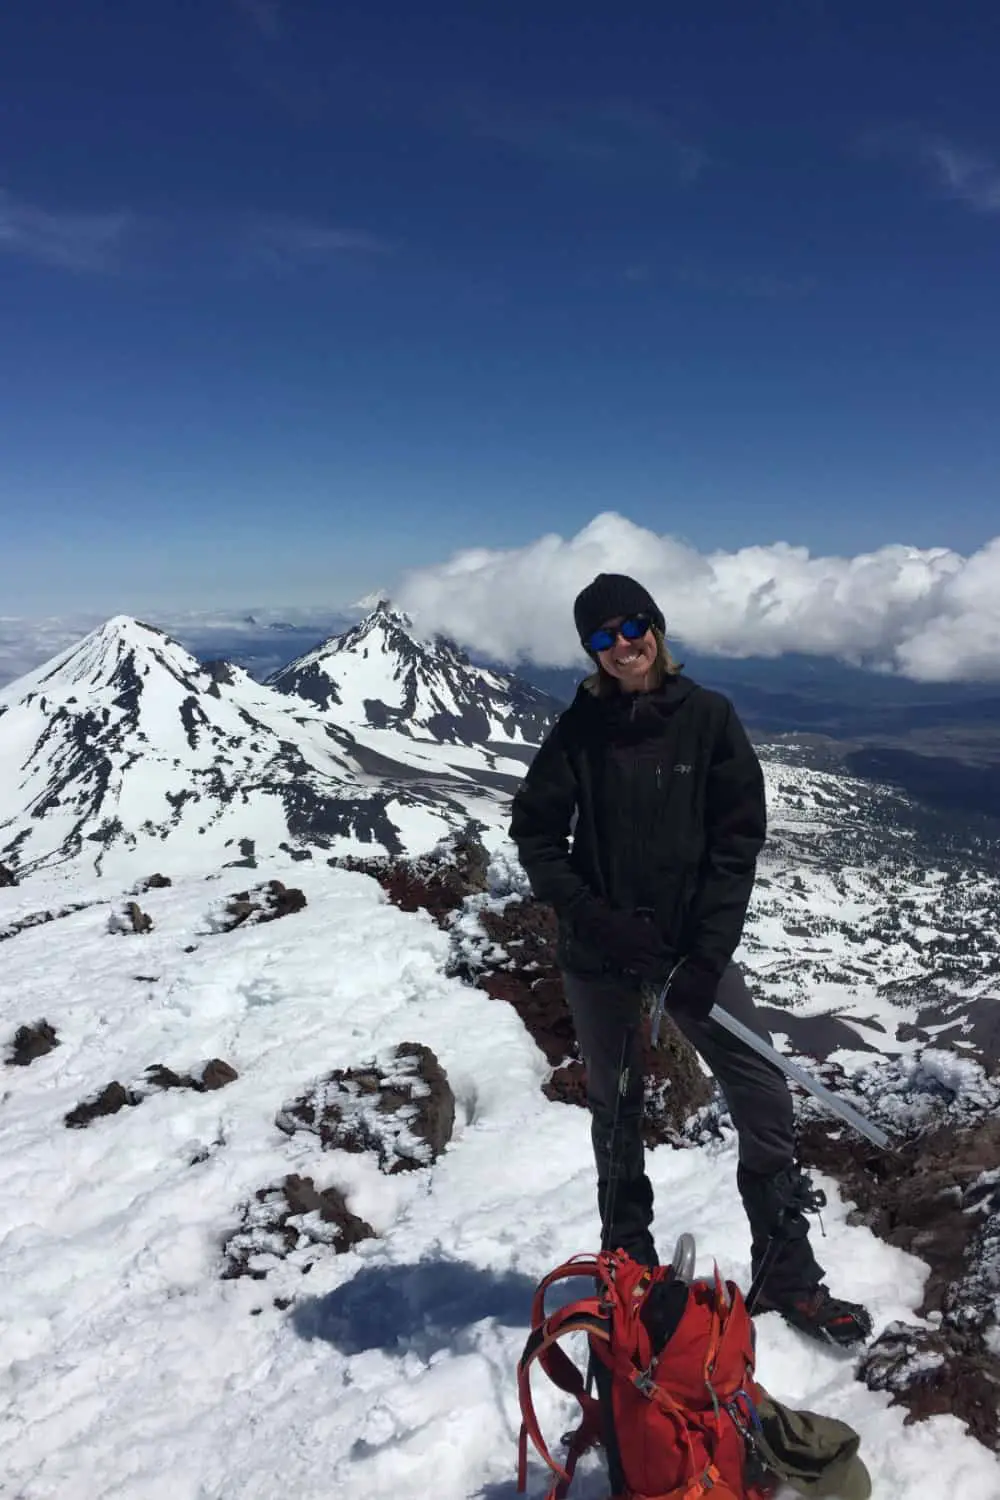
Wendy Harrington is a California native who has lived in a small town at the foothills of the Cascade Mountains in Washington state since 2001. Her love of trail running and peakbagging has led her to summit all five Washington volcanoes, climb to the high points of three states, and put nearly a thousand miles a year on her boots. Her loves include ridgelines, saddles, granite, one-day pushes on big mountains, anything volcanic, long solo days, and objectives that push limits and test endurance.
