Being able to travel safely on ice and snow opens up new trails, new seasons, and new experiences. I was one of those California natives who moved to Washington and would just sort of stop hiking around October, and resume in the spring. It wasn’t so much the cold or the rain that deterred me but the notion of slipping and sliding and falling on ice and snow just sounded annoying, dangerous, and uncomfortable.
Then I discovered microspikes.
What Are Microspikes?
One of the biggest gamechangers of my hiking career, microspikes allow me to continue walking my same trails all winter with a grace and ease as if there was no snow at all. Having the confidence and security to hike in conditions I previously thought were scary did wonders for my self-esteem, and opened up miles and miles of winter wonderland goodness.
Anytime we travel on snow there is an increased risk; the forgiveness of those long, warm summer days just isn’t there, so if you get your socks wet inside your boots, if you forget gloves, if you fall on an icy incline, your day takes an incredibly dark turn. Traveling in snow can be a lot slower than on dirt, turning your simple morning hike into an all-day hike. Without a headlamp and an obvious trail, you could be in for a doozie of a survival story. So before you even consider setting out into Narnia, make sure you have all the right gear and are taking all the right precautions. Here are some things you’ll want on a snowy hike, in addition to your regular things:
- Gloves/mittens/hand warmers
- Poles
- Headlamp
- Extra layers/parka
- Microspikes
On heavily-traveled trails, the snow will get pressed down into ice the more people walk on it. Shady areas, bridges, and higher elevations will stay icy longer, and if there is even the slightest incline, the struggle will be real. Think of driving in the snow with and without chains. Microspikes are chains for your feet. The crunchy sound they make when they dig into the snow with each step is incredibly satisfying, and the strength and torque you feel pushing off with each step from a stable foothold vs. windmilling your arms around and slip-sliding like a cartoon character will make you feel incredibly capable.
When Would I Use Them?
Here’s a breakdown of the three basic types of spikes and most popular brands:
- YakTrax: These are fine for checking the mail or walking to the car after work but I cannot tell you how many of these I find on the trails; they pop off super easy and are no match for any sort of actual terrain.
- Kahtoola Microspikes: An industry favorite and the ones I see on the trails most often, on everyone from beginner to advanced, kids to mountaineers. They stay on really well, come in small, medium, and large, and have 1cm teeth that bite into any snow texture there is, including packed down and icy. The spikes are stainless steel and rarely if ever need any sharpening or upkeep.
- Hillsound Trail Crampons: Which are still microspikes, but with 1.5cm teeth, and a Velcro strap that goes across the top of the boot, giving them just a little more oomph than the Kahtoolas, with the same number of cleats and similar weight. Also stainless steel and rarely if ever need any sharpening or upkeep. As someone who always feels a little spindly and spazzy, I like these for the extra grab factor.
[amazon table=”18613″]
What Are Crampons?
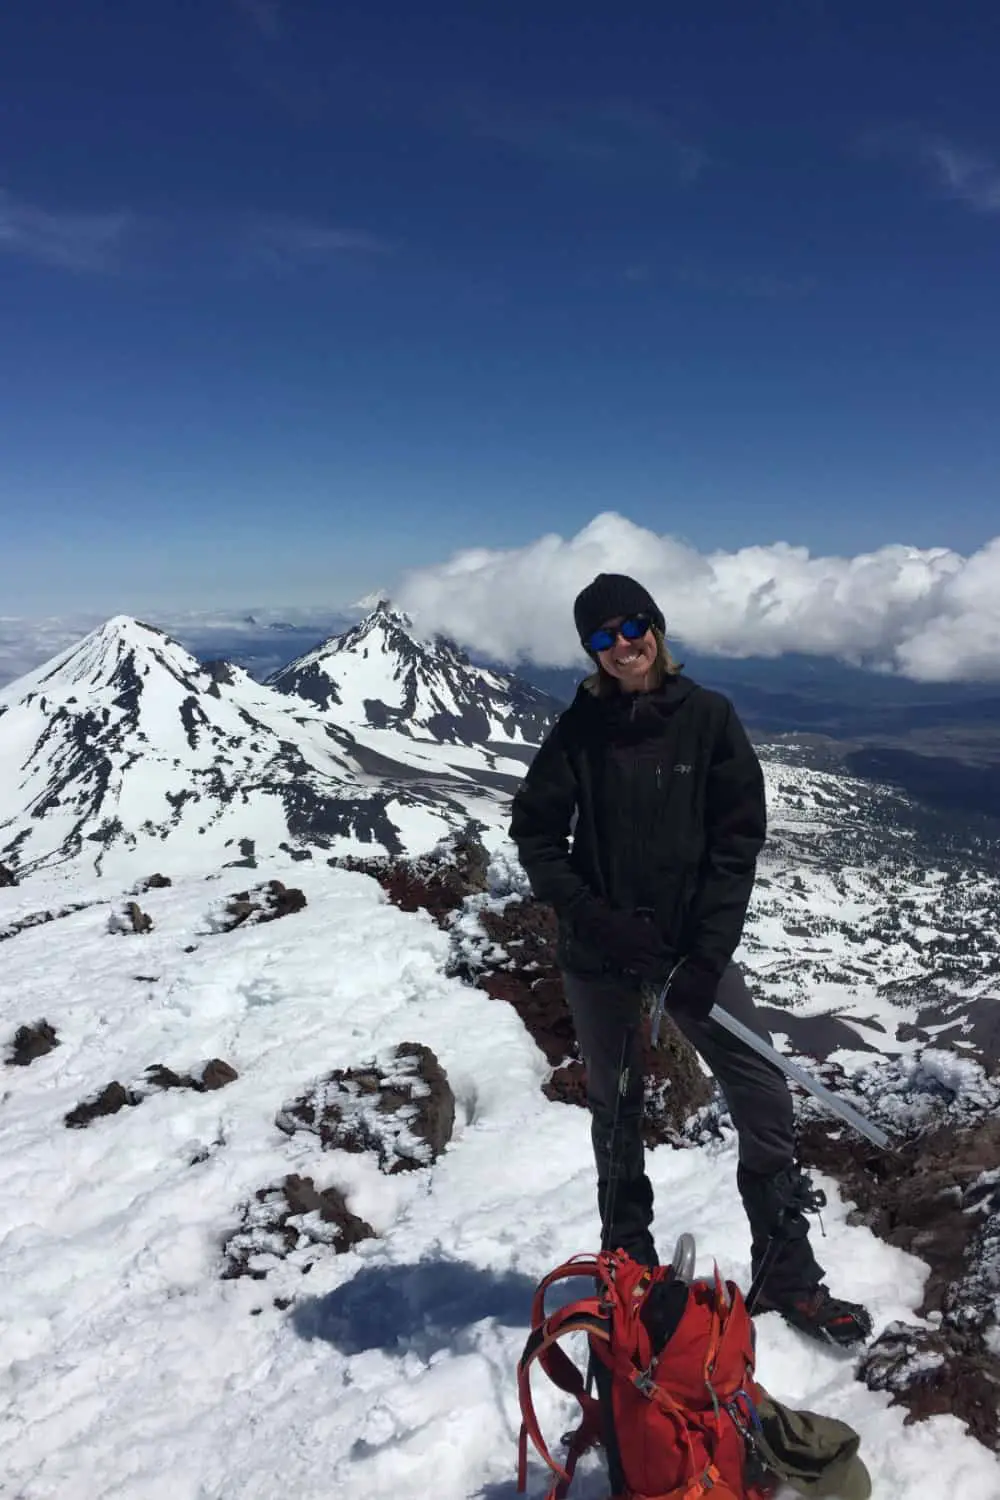
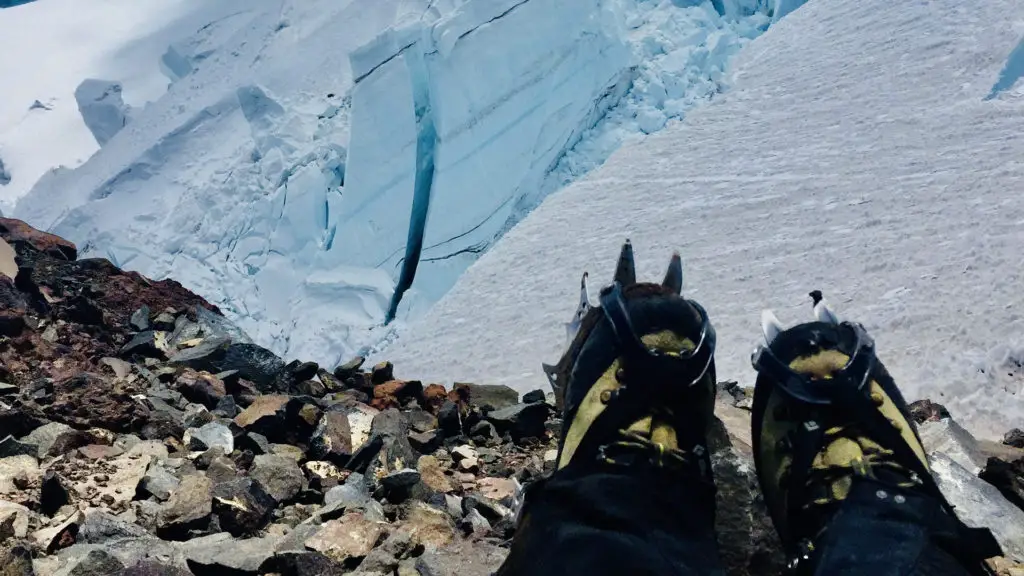
Once I got more into the bigger mountains and glacier travel, I discovered the joy of crampons. The feeling of stability and traction they gave me had me feeling like I could motor up the side of any mountain, sort of like Spiderman and his suction-cup feet.
I normally hate when people answer questions with “if you have to ask, you shouldn’t be doing it.” I see this a lot on the hiking social media pages; someone asks in July if you need an axe on Mt. Stuart and people pounce, assuming this person has never climbed a mountain before when really they are just asking about that specific weekend since July is notorious in the PNW for being all over the place with snowpack. But crampons sort of go in that category, in that if you don’t even know what they are then don’t use them yet until you’ve spent some time researching them and practicing with them. But questions are how we learn, and when we level up, we will have questions. If you’re asking what crampons are, then, you’re probably on the verge of advancing your climbing skills and curious about the gear needed to tackle the more beastly peaks. And we all need to start somewhere.
I bought my first pair the year I decided I was going to climb Mt. Rainier. I was nervous, I felt like an imposter, and I kept taking them out of the box and holding them, wondering who I thought I was to be owning such devices. They looked badass, fierce, a little menacing, definitely intimidating. I practiced lashing them onto my boots and walking around our side yard on the grass. I practiced putting them on with gloves on, then mittens, then sitting on the living room floor at night by headlamp. Their teeth were huge. Fangs! But the repeated exposure created a familiarity between them and me, so by the time I tried them out for the first time on an actual mountain, they felt natural and I felt strong and somewhat majestic.
When deciding between spikes and crampons, think about how steep the incline and how bulletproof the ice. The firmer the snow, the more traction you want, and the steeper the slope, the more traction you need. Glacier travel generally gets crampons unless it’s late season and a little soft and your route is a gentle grade.
Types Of Crampons:
- Strap Crampons: These attach to your boot with buckles and adjustable nylon straps, generally have 10-12 points, and the average length of each point is 3 cm. They can actually be attached to pretty much any shoe, though will perform better the more rigid the sole.
- Step-in Crampons: These clip on to your boot and require that your boot have heel and toe welts and be compatible with this type of crampon. These too generally have 10-12 points, with an average length of each point being 3 cm.
- Hybrid Crampons: Just what it sounds like, hybrids incorporate features of Strap and Step-in crampons, with a heel lever and a toe strap. These can be used with any boot that has a heel welt. These too generally have 10-12 points, with an average length of each point being 3 cm.
[amazon table=”18614″]
Spikes can be thrown on to any shoe, from trail runners to boots. Other than size there isn’t a lot of decision making involved. Crampons require a little more research and consideration but remember, the crampons you choose will be driven by your boot, not the other way around; make sure you find boots you love first, then pick your crampons.
Choosing to adventure in the winter brings with it the need for new gear, more layers, and a little more preparation, but with the right traction on your feet, you’ll feel as nimble and sure-footed as you do during the rest of the year and be able to keep the summer stoke going year-round!

Wendy Harrington is a California native who has lived in a small town at the foothills of the Cascade Mountains in Washington state since 2001. Her love of trail running and peakbagging has led her to summit all five Washington volcanoes, climb to the high points of three states, and put nearly a thousand miles a year on her boots. Her loves include ridgelines, saddles, granite, one-day pushes on big mountains, anything volcanic, long solo days, and objectives that push limits and test endurance.

