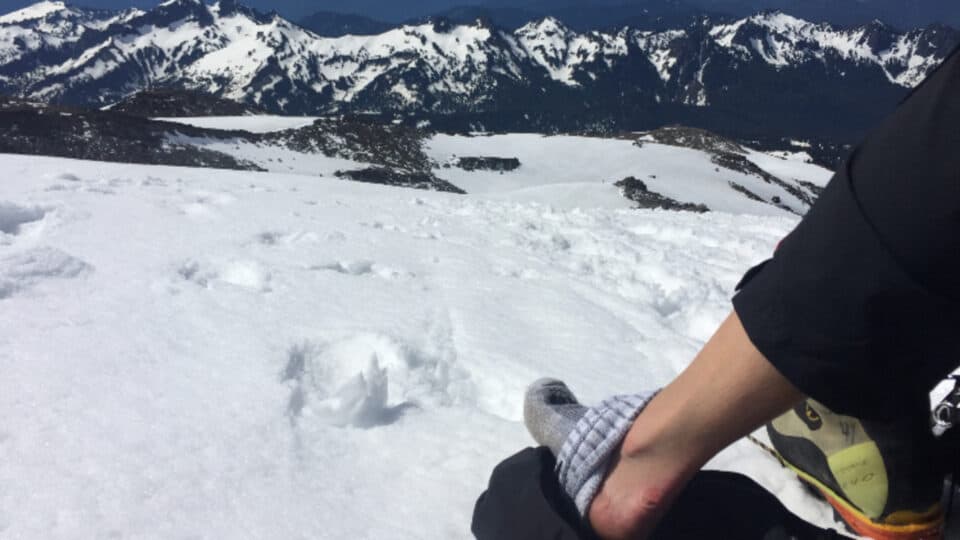
As a hiker, trailrunner, trekker, mountaineer, or backpacker, it’s inevitable that you will get a blister at some point in your dirt-pounding career. Despite our best efforts, as we are learning by trial and error what works and what doesn’t, we will find ourselves one day finishing a hike while starting to favor one foot, walking funny, not wanting to look, but taking that boot off right there in the parking lot and cradling a foot like a baby as we stare in disbelief at the quarter-sized water-pillow on the edge of our heel, or the bottom of our big toe.
You might be one of the lucky ones who gets blisters only under unique circumstances (wet shoes) ,or someone that gets them frequently, like a few with every new pair of shoes until they’re broken in. Either way, being prepared to treat a blister on the fly is an important bit of skill that could make or break a trip, if not for yourself, then for a future unfortunate hiking partner who will be so thankful for your first responder expertise.
In this article will cover blister basics, suggest some products, and outline a few strategies to prevent as well as ways to treat these nasty little fun-killers. First, the basics:
Blister Basics
What even is a blister? In short, it’s your body’s protective reaction to friction. When you have enough friction in a focused spot, cell damage occurs. The fluid inside a blister helps protect and heal the damaged tissue, giving it cushion between the layers of the dermis. Red fluid found in a blood blister simply means that capillaries in the area of the blister have also been damaged.
Several factors make blisters more likely to happen:
- Pressure: A tight spot in your boot or a wrinkle in your sock can create a frictiony pressure point, called a “hot spot”.
- Direct friction: Anywhere there is sliding and rubbing will likely blister. Likely places are inside your boot heel or inside a glove that’s gripping poles or an ax for long periods of time. Eventually the epidermis (upper skin layer) separates and fluid enters the space, causing a blister.
- Moisture: Remember this when thinking that fording a water crossing in your shoes would be fine because it’s summertime and will feel good. For a half mile, sure. Then the rubbing of a wet boot on a wet sock against wet skin starts to kick in and you realize a blister is forming. Also, sweatier skin is softer skin, which is more susceptible to damage when friction occurs.
Blister Prevention
This can take a lot of trial and error. It can also be different for everyone, and can change over time or depending on the circumstance:
- Make sure your boots fit and are broken in: To avoid pressure points and rubbing, make sure you get the right fit when you buy your boots. And their maiden voyage shouldn’t be the multi-day backpacking trip that inspired you to get them. Synthetic boots don’t need the same lengthy, methodical breaking in as leather mountaineering boots, but keep the first few hikes in them short just to be safe.
- Find the best sock for you: Always synthetic or wool, never cotton, and make sure they fit properly (too big and you can have wrinkles; too small and you can create pressure points and sock slippage). Try different brands and thicknesses, play with seasons and temperatures. It took me trying several before I found a few that my feet truly love.
- Consider wearing liner socks: These add a protective layer between your skin and your hiking socks and can help wick away moisture, bust most importantly they allow the foot to glide within the boot or shoe. Some people use nylon stockings for this layer, some use liner socks with individual toes, some just wear two pairs of socks. This is a trial-and-error lover’s dream come true.
- Double Socks: WrightSock and Bombas both make socks that are two layers attached to each other that have garnered some attention and shown good results. They give the same benefits as wearing two pairs of socks, or sock liners and socks, but with the ease and convenience of one pair (which is nice for staying organized on trips).
- Change to dry socks: Fresh socks bring your feet back to the same dryness they had at the beginning of your hike, and will be key if your socks get soaked fording a stream or if your feet sweat a lot. Consider making a mid-hike sock-swap a part of your routine if you are a heavy sweater, live in a warm climate, or anticipate some dicey water crossings.
[amazon box=”B00GFXZ2KE” template=”horizontal”]
Blister Treatment
In the moment:
- Stop right away, sit down, take your shoe off.
- Gently brush away any debris, rinse area with water (bonus points if there’s a creek nearby for you to dunk it in, using the ice cold rapids as an anti-inflammatory) .
- Put a Band-Aid or moleskin over the blister.
- And the most important part: Put duct tape over the Band-Aid or Moleskin. I can’t stress this step enough. Band-Aids and Moleskin will slide and rub with your sock and bunch or roll up, likely making the situation worse. Duct tape allows your sock to slide smoothly over the area. I always wrap a foot or two around a pole or water bottle so I can tear off small pieces if necessary and don’t have to lug a whole roll of it around.
- Deal with hot spots ASAP. The minute you sense an uncomfortable spot, stop and take your boots and socks off. If the area is even slightly red, then dry it off and apply some kind of protection, like duct tape or moleskin; cloth and synthetic medical tapes are additional options, again cover any covering with duct tape.
[amazon box=”B007W9MGLI” template=”horizontal”]
When you get home:
In general, try to refrain from opening a blister to release the fluid, as doing so creates a chance for infection and removes the protection and healing that the fluid provides. However, to drain a large blister that’s too painful to leave undrained, follow the steps below. If your blister pops on its own, then follow steps 4 and 5:
- Wash the blister and surrounding area with antibiotic soap
- Sterilize your needle with alcohol or heat
- Insert the needle near the base of the blister
- Dress the blister like you would a wound, using antibiotic ointment and gauze or a Band-Aid
- Cut and place Molefoam with a doughnut hole around the area to prevent further irritation; for added protection, fill the hole with antibiotic ointment or a blister pad, then add a layer of tape over the top
While it’s rare for a blister to get infected, it’s important to keep a close eye on it and continue to use Neosporin on it. Seek medical care if the following symptoms develop: redness, pain, pus or red streaks traveling toward the nearest lymph node.
[amazon box=”B07LCRX2M7″ template=”horizontal”]
In the days afterward:
- If the blister has not popped or been drained, as much as you want to poke a hole and drain it, try not to. I personally find this hard to resist, but keeping the skin intact will help keep it from becoming infected, and though it seems like it takes forever, be patient; if you leave it alone, the skin under the fluid will heal, the fluid will be absorbed, and the skin will flatten out
- Take a couple days off hiking
- Go shoeless as much as possible
- Keep it covered
- Moisturize
Recommended Products
For your pack:
- Duct tape
- Moleskin (the classic cut-to-size blister-coverage product)
- Large Band-aids
- Neosporin
- Advil
For your home:
- Epsom salts
- Band-aids
- Neosporin
- Shea or Cocoa Butter
- Vitamin E oil
- Blister bandages with pads and gels: These add a protective layer to prevent a blister from getting worse. Pads provide cushioning; gels soothe the area by cooling it off.
Ultimately, with the amount of miles and type of terrain we cover, a blister here or there might be unavoidable even if you follow the prevention suggestions to a T. It’s just the odds. But with practice and the more you get to know your feet and how they react to new shoes, long miles, heavy packs, sweat, or irritants, the better you’ll be able to troubleshoot and hopefully catch hotspots and prevent blisters before they happen.
If you’ve adopted good blister prevention habits and continue to get blisters, it might be time to go in for an extended assessment and fitting session at your local hiking footwear outfitter for some expert advice on shoes and socks.
Wendy Harrington is a California native who has lived in a small town at the foothills of the Cascade Mountains in Washington state since 2001. Her love of trail running and peakbagging has led her to summit all five Washington volcanoes, climb to the high points of three states, and put nearly a thousand miles a year on her boots. Her loves include ridgelines, saddles, granite, one-day pushes on big mountains, anything volcanic, long solo days, and objectives that push limits and test endurance.
