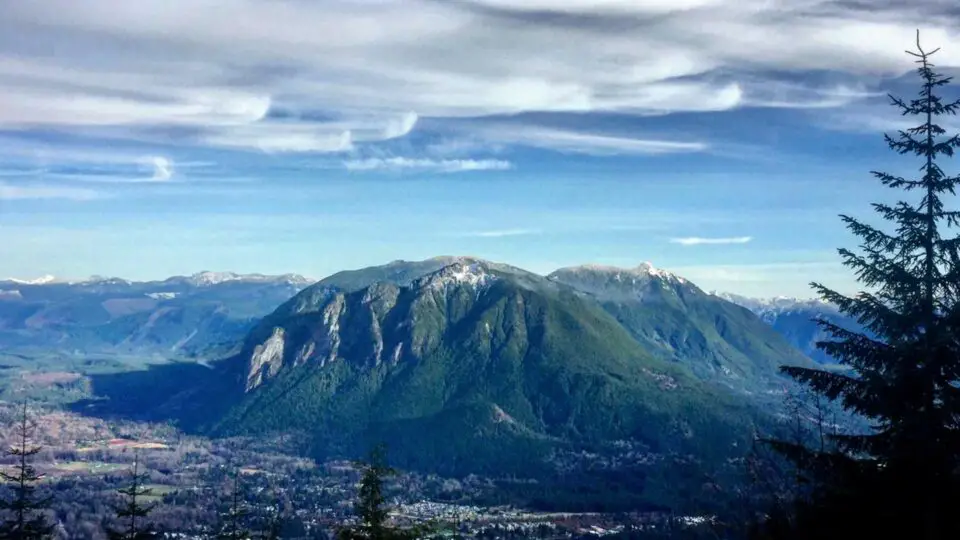
It’s no secret that hundreds of people in the greater Seattle area hike Mount Si as a conditioner, a trainer hike, a hike to build the fitness needed to hike other hikes. Some people say that if you can do Si in two hours carrying 40 lbs you’re ready for Rainier (a statement/mindset so off-target that I, as the kids say, can’t even: talk about apples and oranges). Some people call it “The Stairmaster” for its steady grade, an incline steep enough to get your heart pumping but mild enough that it’s never climbing just walking. Which means you can push your cardio and quads as hard as you want and not worry about hand and footholds. It’s wide like a sidewalk and impossible to get lost on: you can zone out and just GO. No worry about navigation, no decision-making, just one foot in front of the other.
Preparing To Use Mount Si For Training
- First, get either a notebook or an app like Strava: you’ll want to write down or somehow track your stats each time so you can see your progress and form new goals.
- Don’t compare yourself to others. There will always be an FKT (Fastest Known Time) and there will always be someone who takes the better part of a day to get up and back. You’re probably in the middle. Most of us are in the middle. That’s all you need to know.
- Put it on a schedule: whether it’s once a week or once a month or every day, commit to some kind of realistic regularity.
- I want to be really clear when talking about speed, I am not including the Haystack climb. These times and distances are to the obvious landing, or to the sign, or whatever rock you decide is the top for you, when the trail dumps you out above treeline. Haystack takes time and caution and comfort with at least class 3 climbing. Most people who say they hiked Mount Si aren’t including Haystack and that is okay.
- The main areas you want to consider are cardio, strength, and endurance. The three ways to improve those are by increasing your speed, increasing your pack weight, and increasing your mileage.
Increase Your Speed
The first time I hiked up Mount Si it took just over three hours to reach the top. My fastest ascent to date is 1:22. That’s just what happens when you do it over and over and over, each time trying to give it just a little more gas. I didn’t do anything special, I didn’t have a coach or a book or a class, I just kept walking up and down it and I got faster. It helped to have 6 or 8 landmarks along the way, places I knew I wanted to hit at a certain increment of time in: 20 minutes to the big log, 45 to the boardwalk at the halfway mark, 1:15 to the post that says 3.5 in sharpie on the left, etc — you’ll find your own, and the numbers will change as you get faster, try to make it to the boardwalk in 50 minutes instead of an hour, or an hour instead of an hour and a half. The key here is for YOU to compare yourself to YOU. Don’t let your head get cluttered with other people’s times; that’s a self-destructive rabbit hole that you want to stay well away from. You just work on shaving one or three or five minutes off each ascent. Once you’re in a groove with the up, start playing with the down. Look at your descent time and see how much you can take off by running one section, or two, or all of it. I still record mine as two separate numbers rather than one round trip number (because personally if I knew it was one big number I’d probably just run down faster instead of pushing myself to walk up faster).
Increase Your Pack Weight
Unless you have serious back or knee problems, training with some weight in your pack is a great way to build strength. It’s nice if you’re starting in winter, since you’ll need to carry extra gear anyway. Get a luggage scale, and weigh your pack. Increase by 5% every four weeks (which may seem maddeningly slow, but it’s kind to your joints and spine). Keep increasing until you can carry about 25-30% of your body weight up and down the mountain without incident. Do a weighted hike once a week to maintain the strength you’ve built. Go on a backpacking trip. When you can comfortably carry everything you need on your back, you’ve just unlocked a whole new level of adventuring! Not to mention your quads will look amazing.
Increase Your Miles
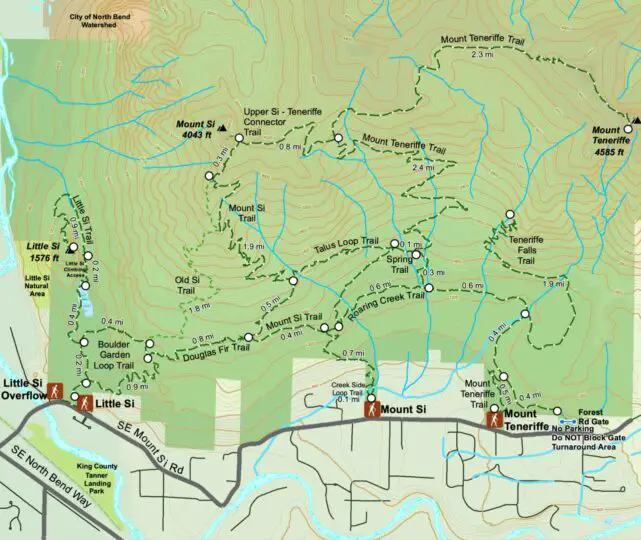
Mount Si has several little off-shoot or connector trails, so study the map and have some fun! Here are some of my favorites:
- Standard New Trail: 8 miles, 3150 feet of gain
- Standard Old Trail: 7 miles, 3150 feet of gain
- Up Old Si, down New Si, then back up New, down Old: 15 miles and 6300 feet of gain
- Up New Si, detour to Talus Loop Trail which reconnects to New higher up, then straight New back down: 10 miles, 3300 feet of gain
- Up New Si to Teneriffe Connector Trail to Mt. Teneriffe summit; down Teneriffe to Talus Loop to New Si: 15 miles, 6200 feet of gain
- Up Old Si, down New Si to the Douglas Fir Trail, back over to Old Si and out: 6 miles, 3700 feet of gain
- And the classic double. Just what it sounds like. Up New, down New, repeat: 16 miles, 6300 feet of gain
It’s Your Mountain, Have At It
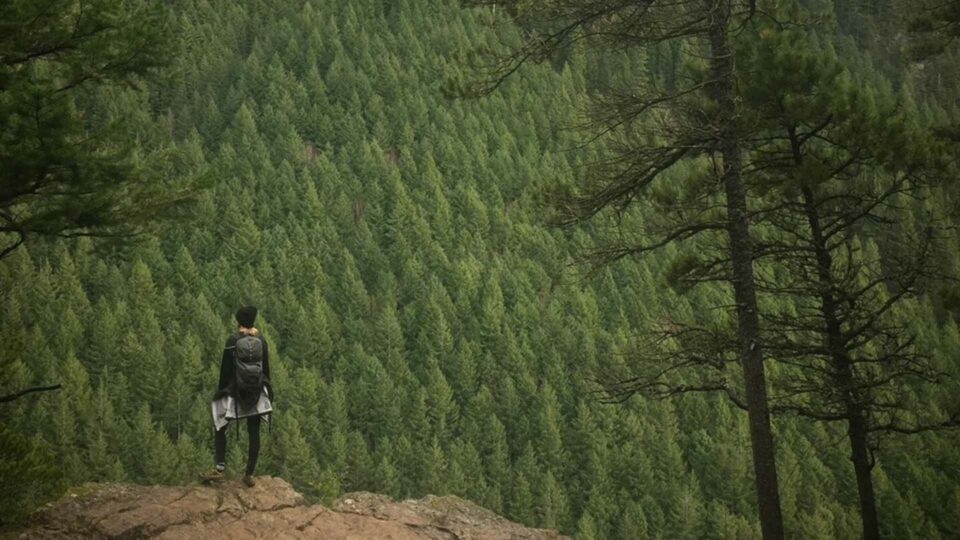
That should give you some food for thought and some jumping off points. You can work in your own variations (I once did a double in a downpour because I felt I needed the practice and immersion [no pun intended] of hiking in crap weather) (I don’t recommend that, just saying I did it). I’ve seen people stop and do pushups, I’ve seen people run up it, I’ve sprinted down it myself in under 40 minutes. It really is yours to use for whatever you feel you need to build on. It’s prettier than the gym, it’s free, and as I’ve been told by the old school mountaineers who were doing this long before any of us were running around in our Arc’teryx gear: the best training for climbing mountains is climbing mountains.
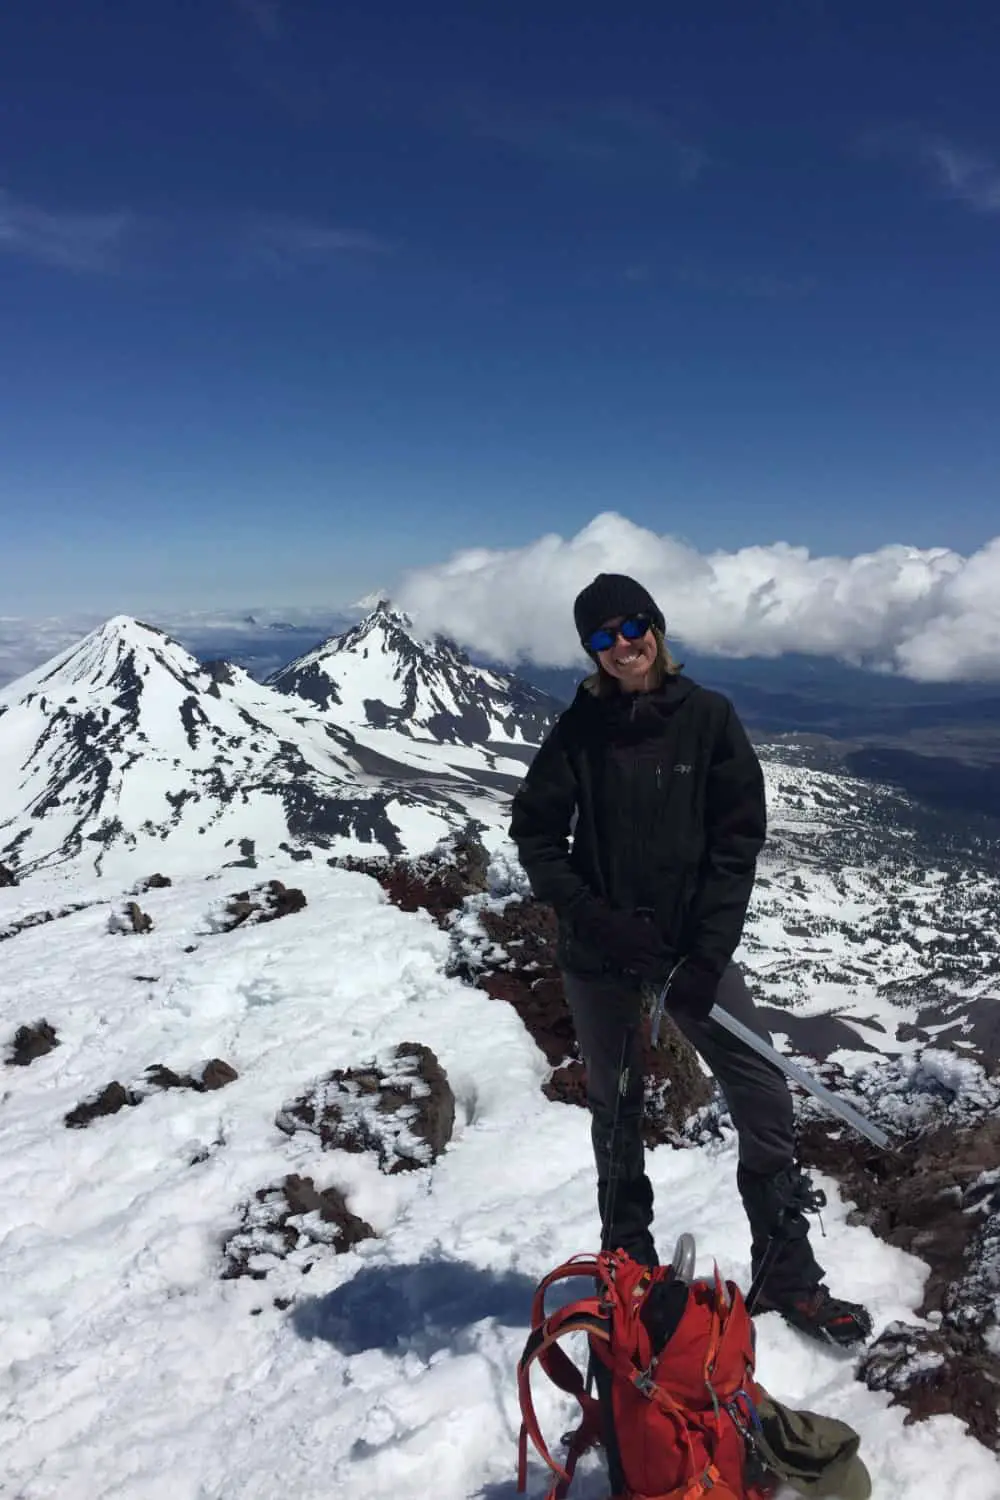
Wendy Harrington is a California native who has lived in a small town at the foothills of the Cascade Mountains in Washington state since 2001. Her love of trail running and peakbagging has led her to summit all five Washington volcanoes, climb to the high points of three states, and put nearly a thousand miles a year on her boots. Her loves include ridgelines, saddles, granite, one-day pushes on big mountains, anything volcanic, long solo days, and objectives that push limits and test endurance.
