So the red tape is settled, fees are paid, flights are booked, shuttles and a hotel after are squared away, I’ve confirmed permits over the phone with the very patient ranger at YNP. Food is being gathered and repacked and weighed. Maps are being studied and texts between my hiking partner and I are longer and more detailed as we compare weights of things, what foods to bring, ideas on where to stop each night, and gear: clothing, shelter, cookware, winter gear, ultralight gear. Always the gear conversation.
There a million sites that offer a million brands and reviews, and quite frankly it gets exhausting looking at the same paragraphs over and over, the top ten lists, the gear breakdowns. It gets exhausting and overwhelming at a time when you need simplicity. So I’d like to offer you a break from all the chatter and give you a basic checklist. Add or subtract based on your own preferences, because here’s the thing: this better not be your first backpacking trip or long hike. You better have some of the gear already if not all of it. Showing up to the trailhead with your REI pricetags still attached to you brand-new, never-tried gear isn’t a good look for anyone and probably means you’re going to have a stressful trip, trying out new items and systems on the fly.
I’m not one of those hardcore ultralight people but after doing Section J of the PCT with a 35 pound pack, I decided to make some cuts. The most impactful changes were in the amount of clothing I packed (hint: bring one of each layer), the backpack I had (Osprey Ariel 75, 4.1lbs) vs. the one I have (Gossamer Gear Mariposa 60, 30 oz), and the amount and type of food I brought. While you may not choose to go full UL, I suggest reading up on some of the UL philosophies to get in the mindset and inspire some subtractions from your pack.
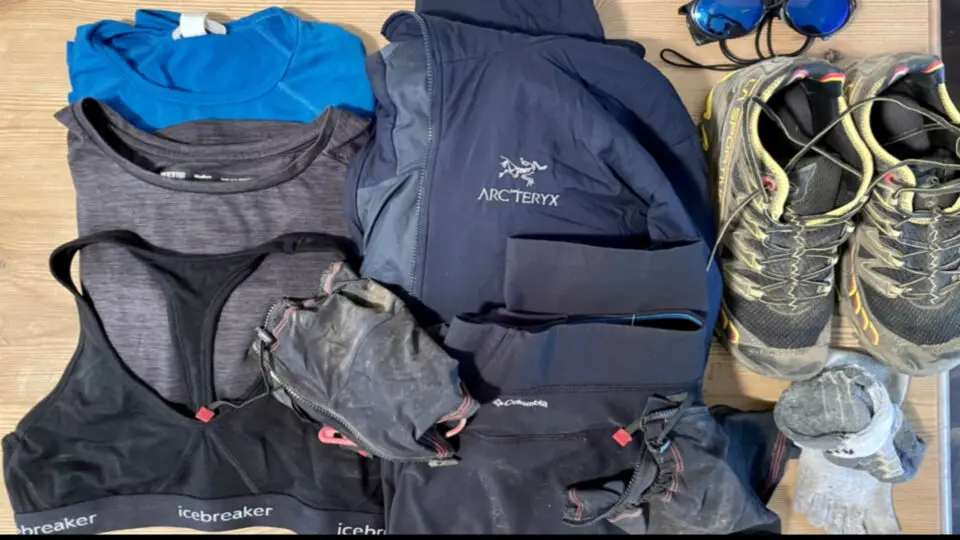
So keeping this really simple, here’s what you’ll want to bring with you:
- Backpack
- Tent
- Sleeping bag or quilt
- Sleeping pad
- Stove (you’ll buy fuel after the plane if you’re traveling)
- Matches/lighter
- Spork
- Bowl
- Poles
- Headlamp
- Cap/beanie
- Gloves
- First aid kit
- Multitool, duct tape
- Toothbrush/paste, TP, soap, towel
- Sunblock
- Bug spray
- Socks
- Underwear
- One of each: Tank or t shirt, long sleeve base layer top, base layer bottoms, mid layer like a light jacket or fleece, puffy, pants
- Depending on season: Rain cover for pack, pack liner, rain jacket, rain pants
- Bandana or Buff
- Sunglasses
- Water filter
- Water bottle
- Bear canister
- River shoes
- Charging bank for phone, headlamp, etc
- In-reach or other satellite communication device
- Food (specifics are in a separate article here)
- Stuff sacks or dyneema pouches for small items
There may be luxury items on not this list that you choose to bring like binoculars or a book, or you might choose to forego some things that are on this list like river shoes, especially late season. But this is a jumping-off point, and can get you pointed in the right direction.
Something that helped a lot was to pack and repack my pack several times so I’d be intimately familiar with its contents, and, once I perfected the organization of it, the order and location of everything.
A key accessory for me was an 8×10″ dyneema pouch for all the small things: batteries, cords, contact lens case, tiny towel, headlamp, gloves. My hip pockets carried SPF and bug juice, phone, snacks, and water filter. This left only medium and large items in the fuselage of the pack and kept things very easy to find and made the most of the space. The unique side pockets on the Mariposa 60 allow you to carry your tent in one long side pocket, your water bottles or an extra layer in one of two shorter side pockets on the other side, and your stove in the other. The sleeping pad goes in a pocket between your back and the pack. You can put your base layers in the pack liner with your sleeping bag and puffy, and put your bear can on top of that, stuffing spare clothes and the pouch down around it to keep it stable. Keeping your pack simple, lightweight, and organized will make for a more enjoyable trip than if you overpack and are always having to pull everything out of your pack to find one thing.
Weigh everything. Get a small postal or kitchen scale and weigh everything you can. Weigh every small item, and look up specs online for gear you can’t weigh with your scale. It helped me to cut a lot of “just in case” items once I saw how quickly they added up. And if there’s any gear you need to buy before your trip, compare weights before you buy, and always always always go with the lighter item (as long as that does’t compromise safety or quality). Don’t bring duplicates of anything unless absolutely necessary. Find dual uses for things (for example, duct tape and TP can double as Band-Aids).
And most importantly: Do some trial runs with every piece of gear. Do day hikes, backpacking trips, use things from your pack around the house. Day two of a three week walk is no time to find out that your pack rubs your hipbone funny, you don’t like the Mountain House meals, or that your brand new shoes are a hot spot factory. Turn your gear into friends, tried and true, comfortable, trusted friends that you know really well. Get the muscle memory going, get things broken in, learn where you want everything to go. Your gear is a huge factor in making your trip either enjoyable or miserable, and it’s under your control — so get your gear situation dialed in tight if you want to be free to focus on your surroundings and your experience.
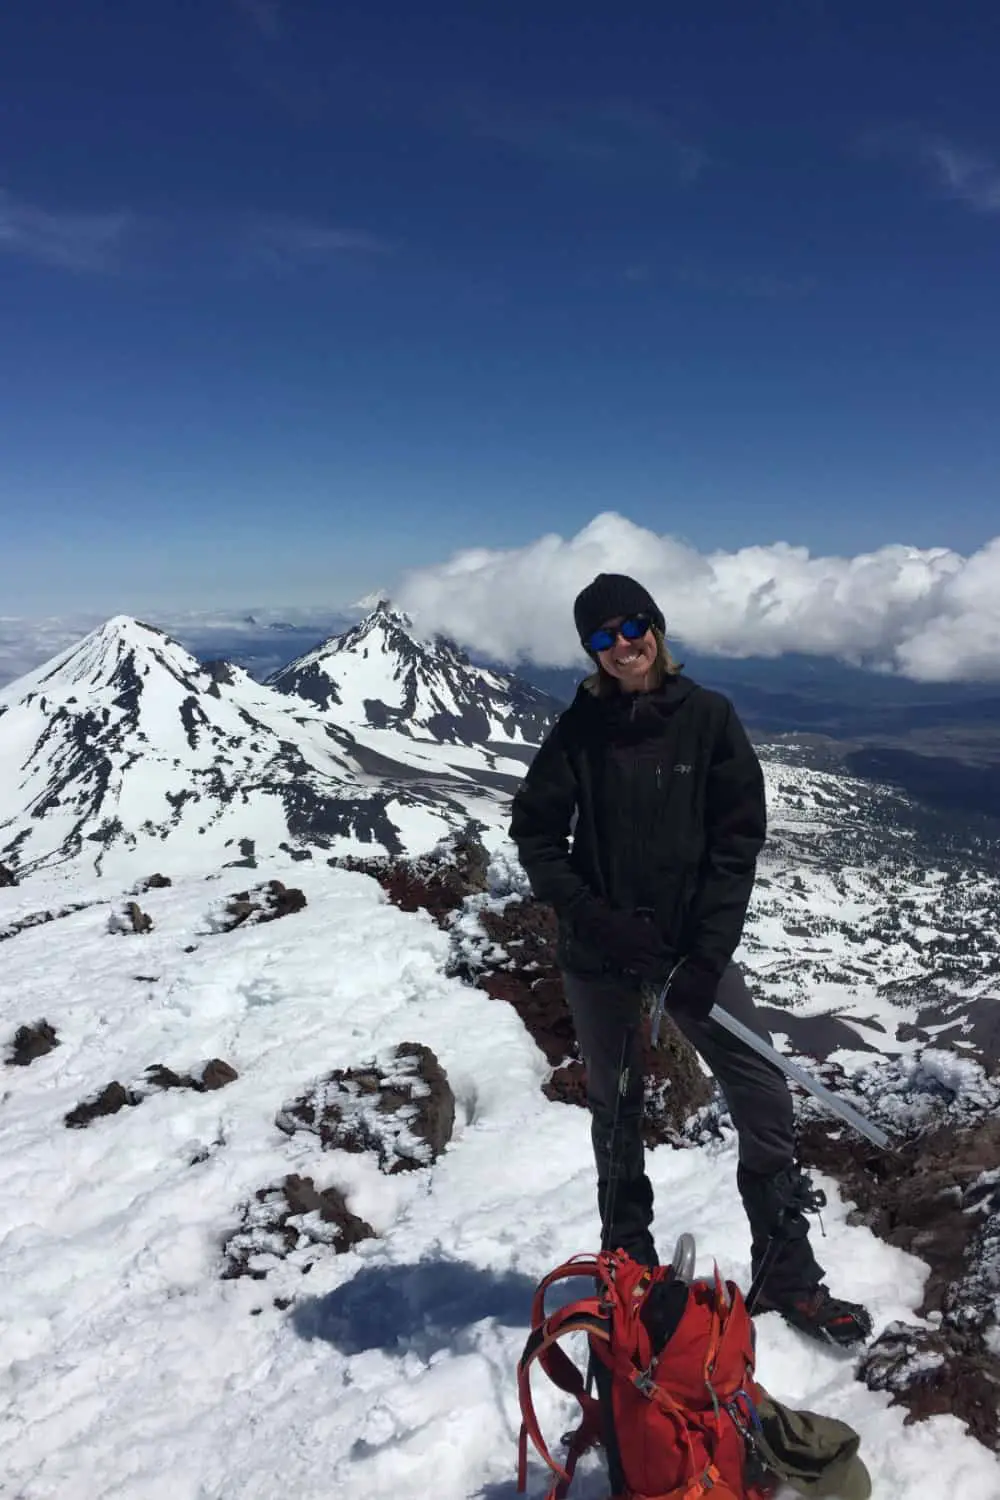
Wendy Harrington is a California native who has lived in a small town at the foothills of the Cascade Mountains in Washington state since 2001. Her love of trail running and peakbagging has led her to summit all five Washington volcanoes, climb to the high points of three states, and put nearly a thousand miles a year on her boots. Her loves include ridgelines, saddles, granite, one-day pushes on big mountains, anything volcanic, long solo days, and objectives that push limits and test endurance.